Master your money with this simple Excel budget planner
This guide helps beginners create a simple Excel budget planner without complex formulas, focusing on clarity and ease of use.
Generic advice on budgeting often feels overwhelming, assuming you already know where your money goes. For those seeking a simple Excel budget planner for beginners, the real challenge is building a system from scratch that doesn't require advanced spreadsheet skills. You need a clear layout, automated calculations, and enough flexibility to adapt to your unique spending habits without getting lost in complex formulas.
This guide will walk you through creating a functional budget directly in Excel or Google Sheets, focusing on clarity and ease of use. We’ll cover essential components, helpful formulas, and common pitfalls, ensuring you can track your income and expenses effectively from day one.
Setting Up Your Income Sheet
Your budget starts with knowing how much money you have coming in. Create a new sheet and name it "Income." You'll want a few key columns here:
- Income Source: This column lists where your money originates (e.g., "Salary - Job A," "Freelance Gig," "Interest Income").
- Frequency: How often do you receive this income? (e.g., "Bi-weekly," "Monthly," "One-time").
- Gross Amount: The total amount before any deductions.
- Deductions/Taxes: Any taxes, insurance premiums, or other withholdings.
- Net Amount: The actual amount that hits your bank account. This is the number you'll use for budgeting.
To calculate the "Net Amount," you'll use a simple formula: =Gross Amount - Deductions/Taxes. If you receive income at different frequencies, it's often easiest to calculate a "Monthly Net Income" figure for your main budget. For bi-weekly income, a common approach is to multiply the net bi-weekly amount by 26 (weeks in a year) and then divide by 12 (months in a year) to get an average monthly figure. This smooths out the months where you might receive three paychecks.
Categorizing Your Expenses
This is where most people struggle. A good expense categorization system is the backbone of any simple Excel budget planner for beginners. You need categories that make sense to you. Don't overcomplicate it initially.
Start with broad categories and then add subcategories as needed. A typical setup might look like this:
Housing:
- Rent/Mortgage
- Property Taxes
- Homeowners Insurance
- Utilities (Electricity, Gas, Water)
- Internet/Cable
- Home Maintenance/Repairs
Transportation:
- Car Payment
- Car Insurance
- Gas/Fuel
- Public Transport
- Maintenance/Repairs
Food:
- Groceries
- Dining Out/Takeout
Debt Payments:
- Credit Card Payments
- Student Loans
- Personal Loans
Personal Care:
- Haircuts
- Toiletries
- Gym Membership
Entertainment:
- Movies/Streaming Services
- Hobbies
- Going Out
Savings & Investments:
- Emergency Fund
- Retirement Contributions
- Other Savings Goals
You'll create a separate sheet, often called "Expenses," or integrate this into a single monthly budget sheet. For a beginner, a single sheet is often less daunting.
Building Your Monthly Budget Sheet
Let's design a single sheet for your monthly budget. Name it "Monthly Budget." This sheet will combine your income and planned expenses.
Columns you'll need:
- Category: The main expense category (e.g., "Housing," "Food").
- Subcategory: The specific item within the category (e.g., "Rent/Mortgage," "Groceries").
- Budgeted Amount: How much you plan to spend in this subcategory for the month.
- Actual Amount: How much you actually spent in this subcategory. This will be manually entered or pulled from another tracking sheet.
- Difference: The variance between your budgeted and actual spending.
Rows you'll need:
- A section for your total monthly net income.
- Rows for each of your expense categories and subcategories.
- A row for "Total Expenses."
- A row for your "Net Savings/Deficit" (Income - Expenses).
Formulas to Implement:
- 01Total Budgeted Expenses: In the "Total Expenses" row, under the "Budgeted Amount" column, use
=SUM(B2:B50)(adjustB2:B50to cover all your budgeted expense cells). - 02Total Actual Expenses: In the "Total Expenses" row, under the "Actual Amount" column, use
=SUM(C2:C50)(adjustC2:C50to cover all your actual expense cells). - 03Difference: In the "Difference" column for each subcategory, use
=C2-B2(for the first row of expenses) and drag down. This shows you if you are over or under budget. A positive number means you spent more than budgeted; a negative number means you spent less. - 04Net Savings/Deficit: In the "Net Savings/Deficit" row, under the "Budgeted Amount" column, use
= [Cell with Total Income] - [Cell with Total Budgeted Expenses]. Do the same for the "Actual Amount" column:= [Cell with Total Income] - [Cell with Total Actual Expenses].
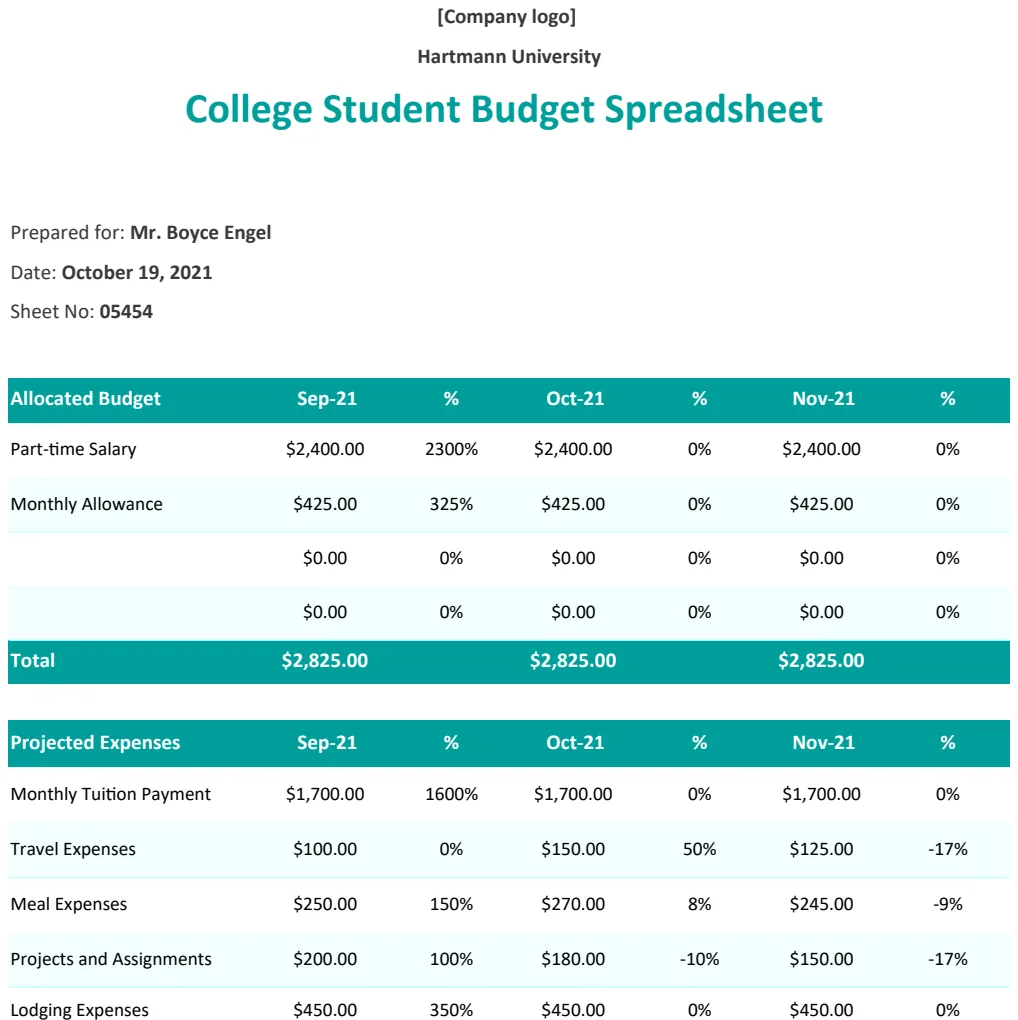
A template like the Copy of Blank Budget Planner Template can provide a solid starting point for this structure, with pre-built formulas and sections.
Tracking Your Actual Spending
This is the most crucial part of making your budget work. You need a system to record what you actually spend.
Option 1: Manual Entry If you're using the "Monthly Budget" sheet as your primary tracker, you'll manually enter each expense in the "Actual Amount" column as it occurs. This works best for simpler budgets but can be tedious.
Option 2: Separate Transaction Log Create another sheet named "Transactions." Here, you log every single expense.
- Date: When the transaction occurred.
- Description: What you bought (e.g., "Coffee at Cafe," "Grocery run at Supermart").
- Category: The main category (e.g., "Food," "Entertainment").
- Subcategory: The specific item (e.g., "Dining Out," "Groceries").
- Amount: The amount spent.
Then, on your "Monthly Budget" sheet, you'll use a formula like =SUMIFS('Transactions'!E:E, 'Transactions'!C:C, B2, 'Transactions'!D:D, A2) to pull the actual spending for each subcategory.
'Transactions'!E:Eis the column with the expense amounts on your Transactions sheet.'Transactions'!C:Cis the column with the main categories on your Transactions sheet.B2is the main category on your Monthly Budget sheet.'Transactions'!D:Dis the column with the subcategories on your Transactions sheet.A2is the subcategory on your Monthly Budget sheet.
This approach provides a more detailed view and is essential for a robust simple Excel budget planner for beginners that can grow with you.
Automating with Conditional Formatting
Conditional formatting can make your budget visually intuitive. Apply it to the "Difference" column on your "Monthly Budget" sheet.
- Green Fill: If the difference is less than 0 (meaning you are under budget), format the cell green.
- Red Fill: If the difference is greater than 0 (meaning you are over budget), format the cell red.
- Yellow Fill: If the difference is exactly 0, format it yellow.
This allows you to quickly scan your budget and see where you're on track and where you need to adjust spending. To do this, select the "Difference" column, go to the "Conditional Formatting" menu, and set up your rules based on cell values.
Common Mistakes to Avoid
Many beginners stumble because they aren't aware of common pitfalls.
- Unrealistic Budgeting: Setting budgets that are too restrictive is a recipe for failure. Start with your actual spending patterns and gradually adjust.
- Ignoring Small Expenses: Those daily coffees or impulse buys add up. Tracking every dollar, even small ones, is vital.
- Not Reviewing Regularly: A budget is a living document. Review it weekly or bi-weekly to make adjustments. Don't just set it and forget it.
- Overly Complex Categories: Trying to track too many granular categories can be overwhelming. Stick to the basics until you're comfortable.
- Forgetting Irregular Expenses: Annual insurance premiums, holiday gifts, or car maintenance are often overlooked. Create sinking funds for these.
Refining Your Budget Planner
Once you've used your initial setup for a month or two, you'll have a better idea of what works and what doesn't.
Adjusting Categories and Subcategories
You might find that "Groceries" and "Dining Out" are too broad, or that you need a separate category for "Pet Care." Don't hesitate to rename, add, or merge categories based on your real-world spending. The goal is clarity, not adherence to a rigid structure.
Incorporating Savings Goals
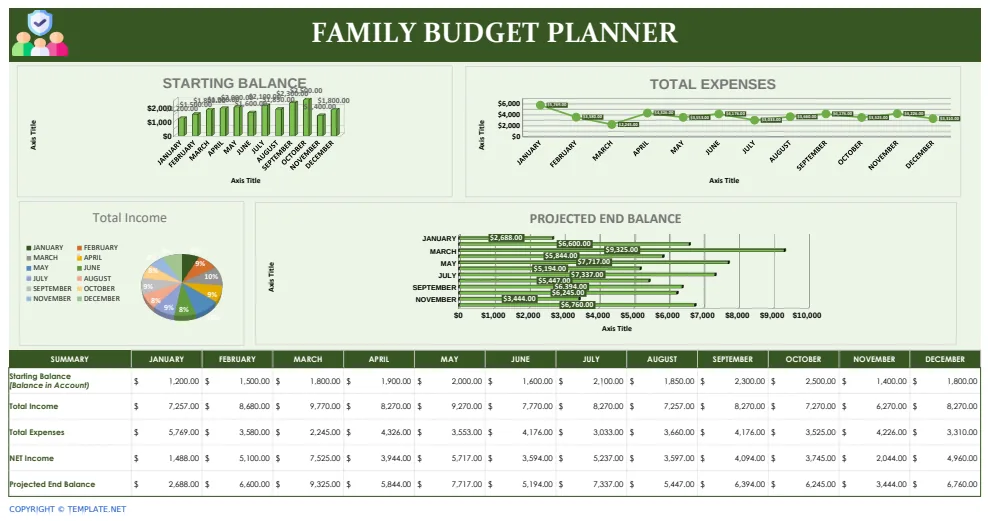
Beyond just tracking expenses, your budget should guide you toward financial goals. Add specific lines for "Emergency Fund," "Down Payment," or "Vacation Fund" within your "Savings & Investments" section. Treat these like expenses you pay yourself. A template like the Copy of Household Budget Planner Template can help visualize these multi-month trends.
Handling Variable Income
If your income fluctuates significantly, you might need a slightly different approach. One method is to budget based on your lowest expected monthly income. Any income above that can be allocated directly to savings, debt reduction, or a buffer. Another strategy is to create a "Windfall Tracker" for bonuses or unexpected income, deciding in advance how to allocate those funds.
When to Consider a Template
If building a simple Excel budget planner for beginners from scratch feels like too much, consider starting with a pre-built template. Many offer robust features that can be customized. For instance, the Wedding Budget Planner Template shows how detailed category planning can work, which you could adapt for personal use. OpenWorksheet offers a library of templates that can be downloaded for a one-time fee of $9, providing access to many different budgeting tools.