Google Sheets vs. Excel for your small business expenses
Discover the best expense tracker spreadsheet for your small business by comparing Google Sheets and Excel, focusing on crucial data input structure.
The most crucial element of a functional expense tracker spreadsheet for small business use is how you structure your data input. Too many people dump everything into one giant column, making it impossible to sort, filter, or analyze later. This is why a well-designed expense tracker spreadsheet small business owners can rely on needs at least five core columns from the start: Date, Vendor, Category, Description, and Amount.
Getting these columns right upfront prevents headaches down the line. Without clear categories, for instance, you can't easily see how much you're spending on marketing versus supplies. A common mistake is using vague category names like "Miscellaneous" for too many entries, which defeats the purpose of tracking. A good expense tracker spreadsheet small business operations will benefit from will have predefined, specific categories.
Setting Up Your Core Columns
Let's build the foundation of your tracker. Imagine you're opening a new sheet in Google Sheets or Excel.
- 01Date: This is straightforward. Use a date format for this column. This allows you to sort by date and understand spending trends over time.
- 02Vendor/Payee: Who did you pay? Be specific. Instead of "Office Supply Store," use "Staples" or "Amazon." This helps identify where most of your money goes.
- 03Category: This is where the real insight comes from. You'll want to define a consistent list of categories relevant to your business. Think broadly at first:
- Rent/Mortgage
- Utilities (Electricity, Internet, Phone)
- Salaries/Wages
- Contractors/Freelancers
- Supplies (Office, Cleaning, Production)
- Marketing & Advertising
- Software & Subscriptions
- Travel
- Meals & Entertainment (business-related)
- Insurance
- Taxes
- Loan Payments
- Bank Fees
- Professional Development
- Equipment
- 04Description: This column provides context. What was the expense for? For a vendor like "Staples," the description might be "Printer paper, ink cartridges, pens" or "New ergonomic chair." This is helpful for recalling specific purchases and for tax purposes.
- 05Amount: The monetary value of the expense. Format this as currency.
Adding Essential Supporting Columns
Beyond the core five, a few more columns can significantly enhance your expense tracker spreadsheet small business owners can use for deeper analysis.
- Payment Method: How did you pay? (e.g., Business Credit Card, Business Checking Account, Petty Cash, Personal Card). This is critical for reconciliation. If you use multiple business credit cards, specify which one.
- Receipt Attached?: A simple "Yes" or "No" (or "Link") can remind you whether you've saved the documentation. You can even create a column to link directly to scanned receipts stored in cloud storage.
- Reconciled?: Another "Yes" or "No" to track if the transaction has been matched against your bank or credit card statement.
Creating a Dropdown for Categories
Typing categories manually every time is a recipe for inconsistency. You'll end up with "Marketing," "Mktg," and "Advt." all meaning the same thing.
- 01On a separate sheet (you can name it "Lists" or "Setup"), create a column and list all your chosen expense categories. Let's say this is in cell
A1:A20on Sheet2. - 02Go back to your main expense tracker sheet. Select the entire "Category" column (or the range where you'll be entering categories, e.g.,
B2:B1000). - 03In Excel, go to the Data tab, then Data Validation. In Google Sheets, go to Data > Data validation.
- 04Choose "List" for the criteria.
- 05For the source, select the range you created on your "Lists" sheet (e.g.,
Sheet2!$A$1:$A$20). Make sure to use absolute references ($) if necessary. - 06Click "OK." Now, your Category column will have a dropdown menu with your predefined list, ensuring consistency.
Calculating Totals and Summaries
A raw list of expenses isn't very insightful. You need summaries.
Monthly Totals by Category
This is where you can see where your money is going each month.
- 01Create a new sheet, perhaps named "Monthly Summary."
- 02In the first column (Column A), list your months (e.g., "January," "February," etc.).
- 03In the first row (Row 1), list your expense categories across the columns.
- 04In the cell where a month and category intersect (e.g., cell
B2for January's Marketing spend), you'll use a formula likeSUMIFS.
Let's assume:
- Your expense tracker sheet is named "Transactions."
- Dates are in
Transactions!A2:A1000. - Categories are in
Transactions!C2:C1000. - Amounts are in
Transactions!E2:E1000. - Your "Monthly Summary" sheet has "January" in
A2and "Marketing" inB1.
The formula in B2 would be: =SUMIFS(Transactions!$E$2:$E$1000, Transactions!$C$2:$C$1000, $B$1, Transactions!$A$2:$A$1000, ">="&DATE(YEAR(TODAY()),MATCH($A2,{"January","February","March","April","May","June","July","August","September","October","November","December"},0),1), Transactions!$A$2:$A$1000, "<="&EOMONTH(DATE(YEAR(TODAY()),MATCH($A2,{"January","February","March","April","May","June","July","August","September","October","November","December"},0),1),0))
This formula sums amounts where the category matches cell B1 AND the date falls within the month specified in cell A2. You can drag this formula across and down to fill out your summary table. This level of detail is crucial for any robust expense tracker spreadsheet small business owners will find valuable.
Overall Totals
At the bottom of your "Transactions" sheet, you might want a quick overall sum of your expenses.
- In a cell below your last entry in the Amount column, use
=SUM(E2:E1000)(assuming your amounts are in column E and your data starts on row 2).
Using Conditional Formatting for Insights
Visual cues can help you spot issues or trends quickly.
- Highlight High-Value Transactions: Select your "Amount" column. Go to Conditional Formatting > Highlight Cells Rules > Greater Than. Enter a threshold (e.g., $500) and choose a fill color like light red. This flags significant individual expenses.
- Identify Unreconciled Items: If you have a "Reconciled?" column, you can highlight rows where the value is "No." Select all your data rows, go to Conditional Formatting > New Rule > Use a formula to determine which cells to format. Enter a formula like
= $H2="No"(assuming your "Reconciled?" column is H and your data starts on row 2). Format these rows with a light yellow fill. This makes it easy to see what still needs checking against your bank statements.
Common Mistakes to Avoid
Building an expense tracker spreadsheet small business owners can use effectively means sidestepping common pitfalls.
- Inconsistent Categorization: As mentioned, this is a killer. Always use your dropdown list. If you need a new category, add it to your "Lists" sheet first.
- Not Tracking All Expenses: Be diligent. Even small expenses add up. Don't forget things like bank fees or software subscriptions.
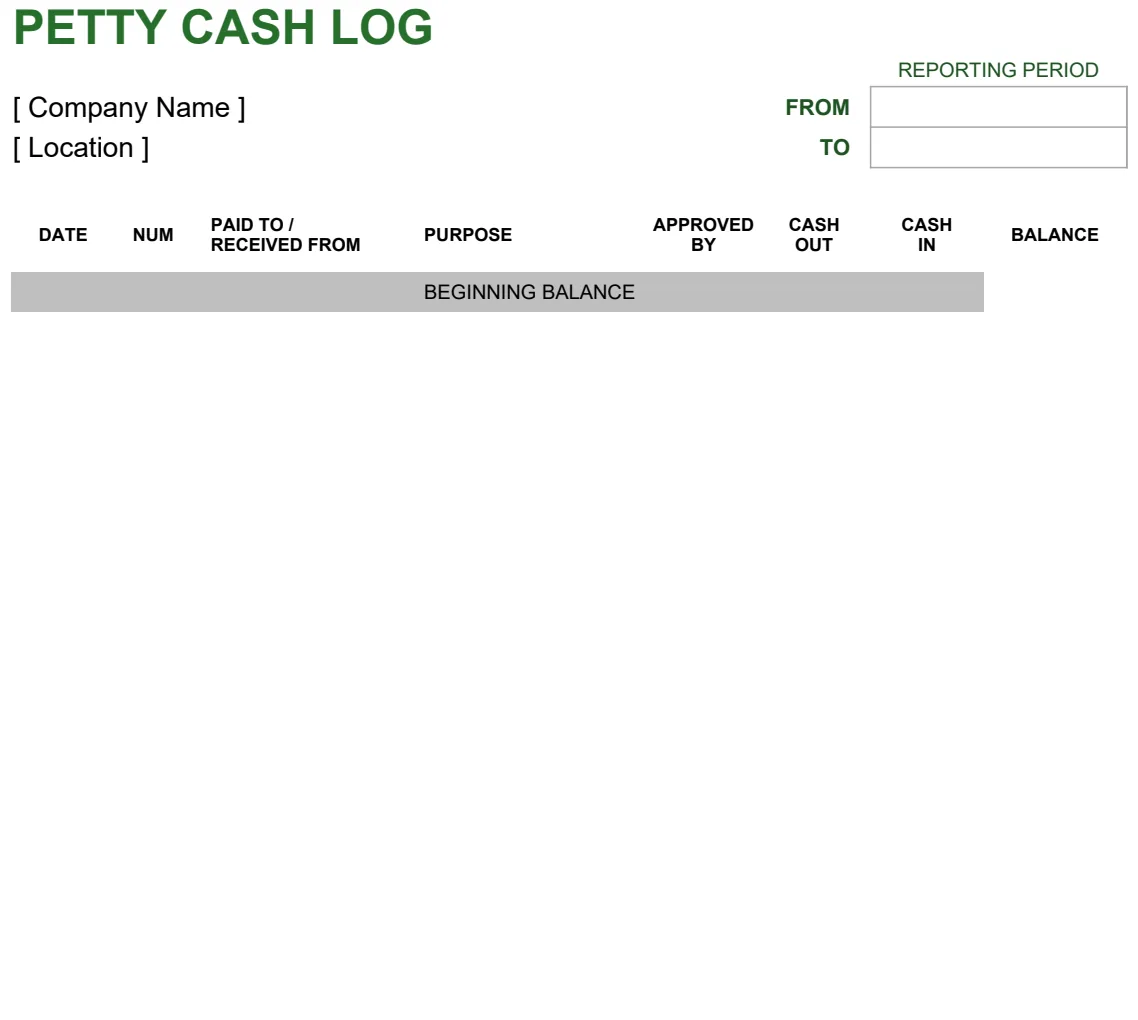
- Forgetting to Reconcile: Your spreadsheet is only as good as its accuracy. Regularly compare your spreadsheet entries against your bank and credit card statements. If using the Small Business Expense Report Template, ensure each entry is accounted for.
- Over-Categorization: While detail is good, having 50 categories for minor items can become overwhelming. Stick to the most impactful groupings for your business.
- Not Backing Up Your Data: Spreadsheets can be lost or corrupted. Ensure you have a regular backup system, especially if you're not using cloud-based software like Google Sheets.
Advanced Features and Next Steps
Once your basic expense tracker spreadsheet small business operations are covered, you can add more sophisticated elements.
Tracking Income
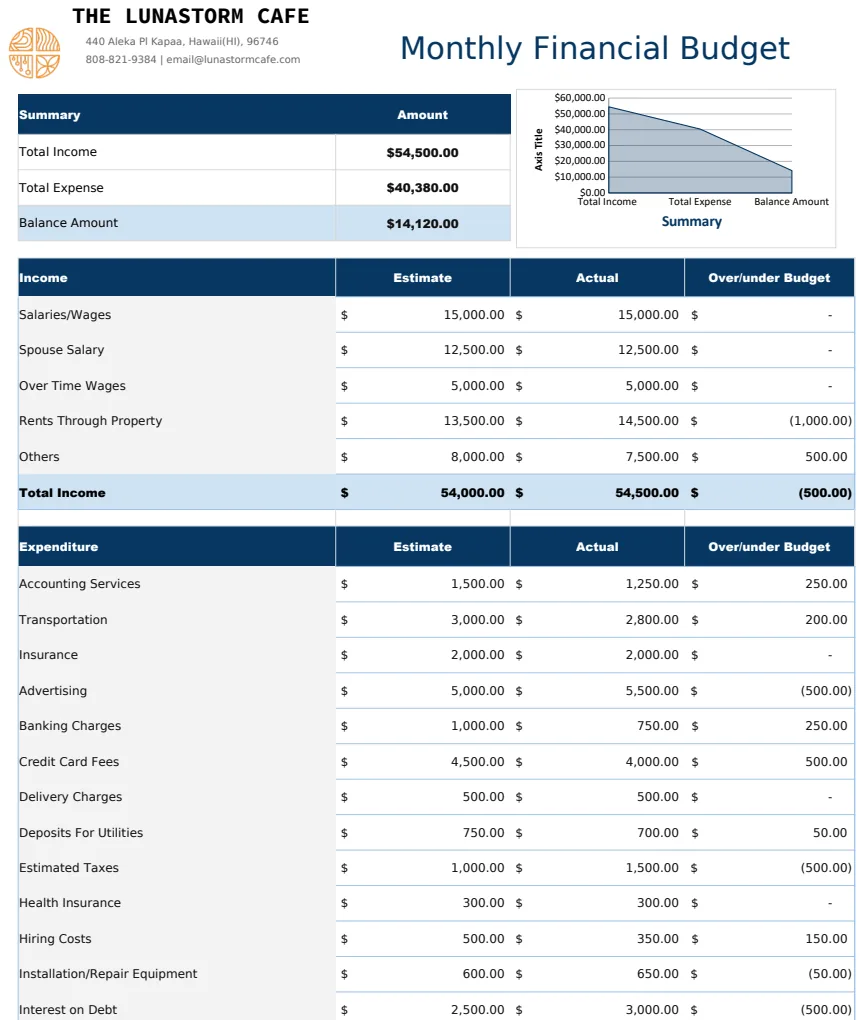
To get a full financial picture, you need to track income alongside expenses. Add columns for "Income Source" and "Income Amount" to your main sheet, or create a separate income tracker. This allows you to calculate profitability. For a more structured approach to budgeting and overall financial health, consider a template like the Monthly Financial Budget Template - The Lunastorm Cafe.
Analyzing Profitability by Service/Product
If you offer different services or products, you might want to know which ones are most profitable. This requires a more complex setup, potentially linking expenses to specific projects or product lines. The Small Business Expense Workbook Template offers a multi-sheet approach that can be adapted for this.
Linking to Bank Feeds (Advanced)
For businesses with high transaction volume, manually entering every expense is time-consuming. Some accounting software can automatically import transactions from your bank. While a spreadsheet can't do this directly without specialized add-ons or scripting, it's a good next step to consider as your business grows.
Cash vs. Accrual Accounting
Be mindful of your accounting method. A simple expense tracker often defaults to a cash basis (recording expenses when money is paid). If you need to track on an accrual basis (recording expenses when they are incurred, regardless of payment date), your spreadsheet will need adjustments to track accounts payable.
Frequently Asked Questions
How often should I update my expense tracker?
Ideally, you should update it daily or at least weekly. Consistent updates prevent data from falling behind and make reconciliation much simpler. Waiting too long can lead to forgotten expenses or inaccurate reporting.
Can I use one spreadsheet for multiple businesses?
It's generally best to keep separate spreadsheets for separate businesses. This avoids commingling funds and simplifies tax reporting for each entity. If you need to manage multiple businesses, you might consider a more robust accounting software solution.
What if I have expenses that benefit both business and personal use?
These are called "mixed-use" expenses. For tax purposes, you must clearly separate the business portion from the personal portion. Your expense tracker should reflect only the business-use amount. Keep detailed records (like mileage logs for vehicle use) to justify the business-use percentage.
Should I categorize every single transaction?
Yes, for a truly useful expense tracker spreadsheet small business owners can rely on, every transaction needs a category. If you're unsure about a category, create a temporary one like "Needs Categorization" and revisit it soon. The goal is to have a complete and accurate picture of your business spending.