Stop losing money: Your bill tracker spreadsheet needs this fix
A bill tracker spreadsheet template printable is the key to avoiding late fees and gaining financial control.
The moment you realize you've missed a bill payment is often when late fees start adding up, or worse, when a service gets unexpectedly shut off. This usually happens because a single, centralized system for tracking due dates, amounts, and payment status is missing. Many people try to keep track mentally or with scattered sticky notes, which quickly becomes unmanageable as financial obligations grow. A good bill tracker spreadsheet template printable can be the single most effective tool to prevent these financial headaches.
This isn't just about avoiding late fees; it's about gaining control. When you can see all your upcoming expenses at a glance, you can budget more effectively, identify areas where you might be overspending, and plan for larger purchases or savings goals. A well-organized tracker transforms a reactive approach to finances into a proactive one.
Setting Up Your Bill Tracker
When you start building your bill tracker spreadsheet, clarity and consistency are key. You’ll want to establish a clear set of columns that capture all the essential information for each bill. For a personal bill tracker, consider these columns:
- Bill Name: The name of the service or company (e.g., "Electricity," "Rent," "Netflix," "Student Loan").
- Due Date: The exact date the payment is due. Formatting this as a date in Excel or Google Sheets is crucial for sorting and conditional formatting.
- Amount Due: The total amount that needs to be paid.
- Payment Status: A simple indicator like "Due," "Paid," or "Scheduled." Using a dropdown list here can ensure consistency.
- Payment Date: The date you actually made the payment.
- Payment Method: How you paid (e.g., "Auto-pay," "Online Transfer," "Check").
- Notes: Any additional relevant information, like account numbers, confirmation codes, or specific terms.
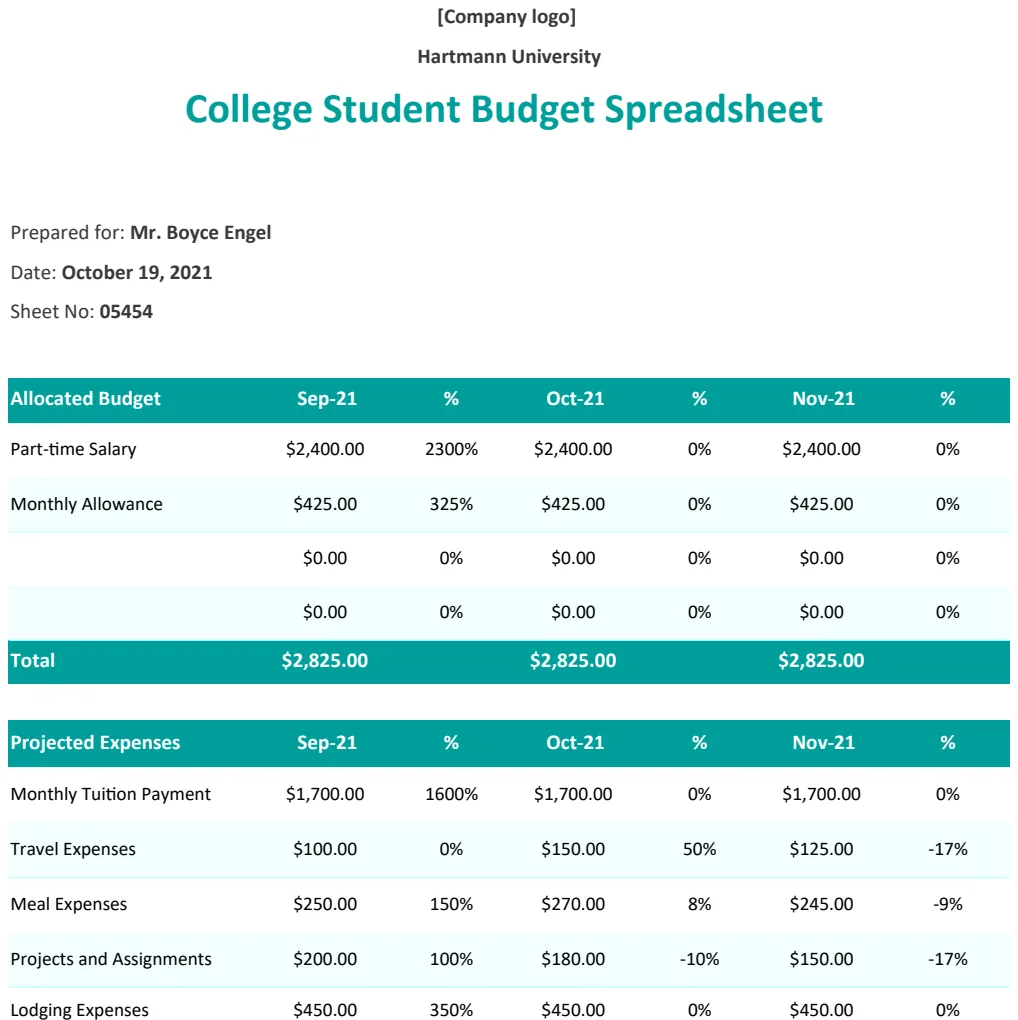
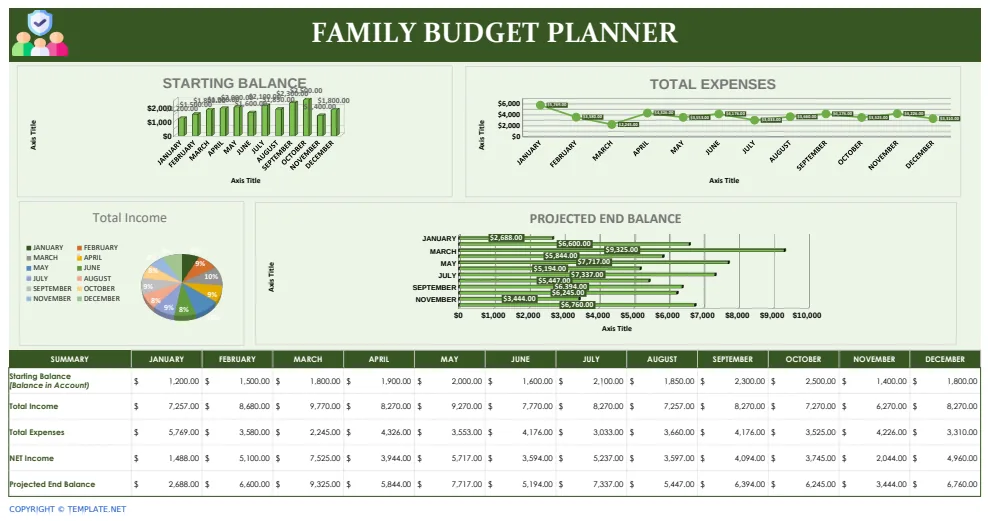
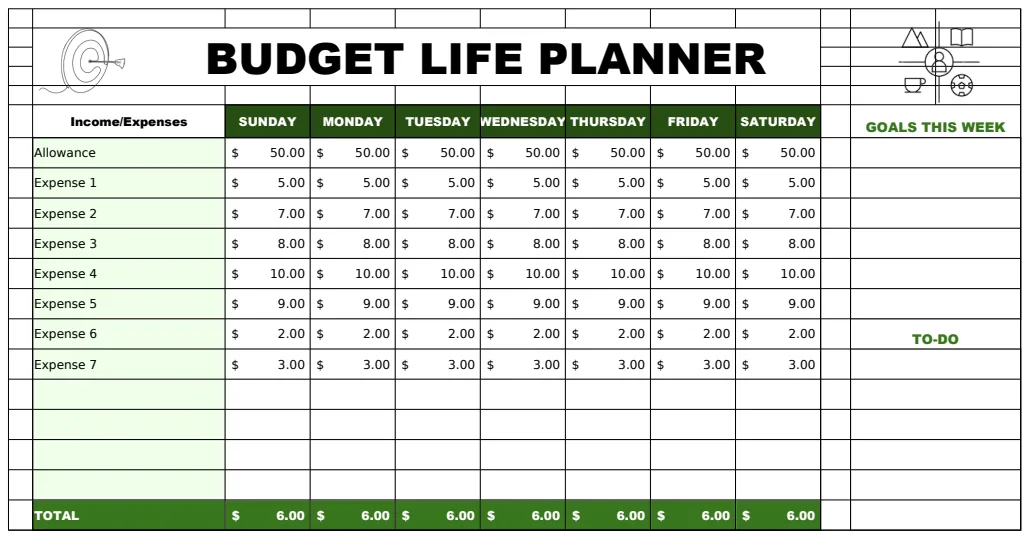
You can create this from scratch in any spreadsheet program, or adapt a pre-made template. For instance, the Printable Budget Planner Template includes sections that can be customized for detailed bill tracking alongside your overall budget.
Automating Due Date Reminders with Conditional Formatting
One of the most powerful aspects of a digital bill tracker is its ability to alert you to upcoming payments. Conditional formatting is your best friend here. You can set rules so that bills approaching their due date visually stand out.
For example, let’s say your "Due Date" is in column B and "Payment Status" is in column D.
- 01Select the cells in the "Due Date" column (column B) that you want to format.
- 02Go to Format > Conditional formatting (in Google Sheets) or Home > Conditional Formatting (in Excel).
- 03Create a new rule.
- 04For bills due in the next 7 days, you could set a rule that says: "If the date in cell B2 is less than or equal to TODAY() + 7, and cell D2 is not 'Paid', then apply a light yellow fill."
- 05You can add another rule for bills that are already past due: "If the date in cell B2 is less than TODAY(), and cell D2 is not 'Paid', then apply a light red fill."
This visual cue is incredibly effective. Bills that are red are urgent, while yellow ones need attention soon. This proactive warning system prevents those "oh no, I forgot!" moments.
Tracking Payments and Avoiding Duplicates
Ensuring that you don't accidentally pay a bill twice, or that you mark a payment as complete once it's done, is critical. The "Payment Status" and "Payment Date" columns work together for this.
When you are about to make a payment, you can quickly scan your tracker. If a bill is already marked "Paid" with a recent "Payment Date," you know you don't need to do anything. If it's marked "Scheduled," you can verify the payment has gone through on the scheduled date.
Consider adding a formula to automatically update the "Payment Status" based on whether a "Payment Date" has been entered. In Excel or Google Sheets, you could use:
=IF(ISBLANK(E2), "Due", IF(E2<=TODAY(), "Paid", "Scheduled"))
Assuming "Payment Date" is in column E. This formula checks if column E is blank. If it is, the status is "Due." If there's a date and that date is today or earlier, it's marked "Paid." Otherwise, it's "Scheduled." This automates a significant part of your tracking.
Advanced Tracking with Formulas
Beyond basic tracking, you can enhance your spreadsheet with formulas to provide deeper insights.
- Total Upcoming Bills: Use
SUMIFSto calculate the total amount due for bills that aren't yet paid and are due in the future.
=SUMIFS(C2:C100, D2:D100, "<>Paid", B2:B100, ">"&TODAY()) This sums the "Amount Due" (column C) where "Payment Status" (column D) is not "Paid" and "Due Date" (column B) is after today.
- Bills Paid This Month: A similar
SUMIFScan track total payments made.
=SUMIFS(C2:C100, E2:E100, ">="&EOMONTH(TODAY(), -1)+1, E2:E100, "<="&EOMONTH(TODAY(), 0)) This sums amounts where the "Payment Date" (column E) falls within the current calendar month.
These formulas turn your tracker into a dynamic financial dashboard.
Handling Irregular or Variable Bills
Not all bills are the same amount every month. Utilities, for example, can fluctuate significantly. For these, your tracker needs a bit more flexibility.
One approach is to enter the estimated amount due and then update it once the actual bill arrives. You can add a column for "Actual Amount Paid" or simply update the "Amount Due" cell once you have the final figure.
Another method is to have a separate tab or section for recurring bills with variable amounts. You might list the average amount and then have a column to note the difference from the average, or a separate column to record the exact billed amount for that period. If you use a template that allows for detailed expense categorization, like the Printable Budget Planner Template, you can tag these variable bills and track their fluctuations over time to predict future costs more accurately.
Mistakes to Avoid
Even with a great template, common errors can undermine its usefulness.
- Inconsistent Data Entry: Not formatting dates correctly, or misspelling bill names, makes sorting and filtering unreliable. Always use dropdowns for status fields.
- Forgetting to Update: The tracker is only as good as the information within it. Make it a habit to update it immediately after a payment is made or a new bill arrives.
- Overcomplicating It: While advanced formulas are useful, don't add so many that the tracker becomes daunting to use. Start simple and add complexity as needed.
- Not Reviewing Regularly: Simply having the data isn't enough. Set aside time weekly or bi-weekly to review upcoming bills, check payment statuses, and analyze spending patterns.
Using Your Bill Tracker for Business
While the focus here is often personal finance, the principles of a good bill tracker apply equally to small businesses or freelancers. Tracking outgoing expenses, vendor payments, and recurring software subscriptions is crucial for managing cash flow and profitability.
For businesses with multiple clients or a complex invoicing process, a more specialized tool might be beneficial. Templates like the Multi-Client Billing & Revenue Tracker or the Invoices Tracker are designed to handle the specific needs of managing financial transactions in a commercial context. These can integrate with your bill tracking to give a complete financial picture. If you're looking for a comprehensive solution, consider exploring the library of templates available for a one-time fee, which provides access to all templates for unlimited downloads.
Can I print my bill tracker?
Absolutely. The core idea of a bill tracker spreadsheet template printable is that you can generate a snapshot of your upcoming bills to print. You can select the rows you need, copy them to a new sheet, and then print that sheet. Or, if you’re using a template designed with printability in mind, like parts of the Printable Budget Planner Template, you might simply print the relevant section directly. It’s a great way to have a physical copy for quick reference or to share with a partner.
How do I handle bills that are paid automatically?
For bills that are on auto-pay, you still need to track them to ensure the correct amount is being debited and that the service is still active. In your tracker, you can mark the "Due Date" as the date the payment is scheduled to be debited. Once you've confirmed the payment has gone through (either by checking your bank statement or the service provider's portal), update the "Payment Status" to "Paid" and enter the "Payment Date." You might also add "Auto-pay" in the "Payment Method" column for easy identification.
What if I have a lot of bills?
If you have a large number of bills, organization becomes even more critical. Start by listing every single bill you have. Then, sort your tracker by "Due Date" to see what's coming up soonest. Use color-coding extensively with conditional formatting to highlight approaching due dates, overdue bills, and paid items. Consider breaking down your tracker by category or payment frequency (e.g., weekly, monthly, quarterly) on separate tabs if it becomes too overwhelming on a single sheet. The key is to make it manageable, not a source of stress.